ACR122U NFC Reader For Android Integration Guide
Table of Contents
Integrate ACR122U RFID/NFC reader with Android! This guide covers setup, NFC, error handling, & code. Unlock contactless app development!
Introduction:
Want to add RFID and NFC functionality to your Android app? The ACR122U is a popular and versatile reader for developers. This guide will show you how to integrate it, from hardware setup to handling common errors. We’ll cover everything you need to know to start building amazing contactless applications.
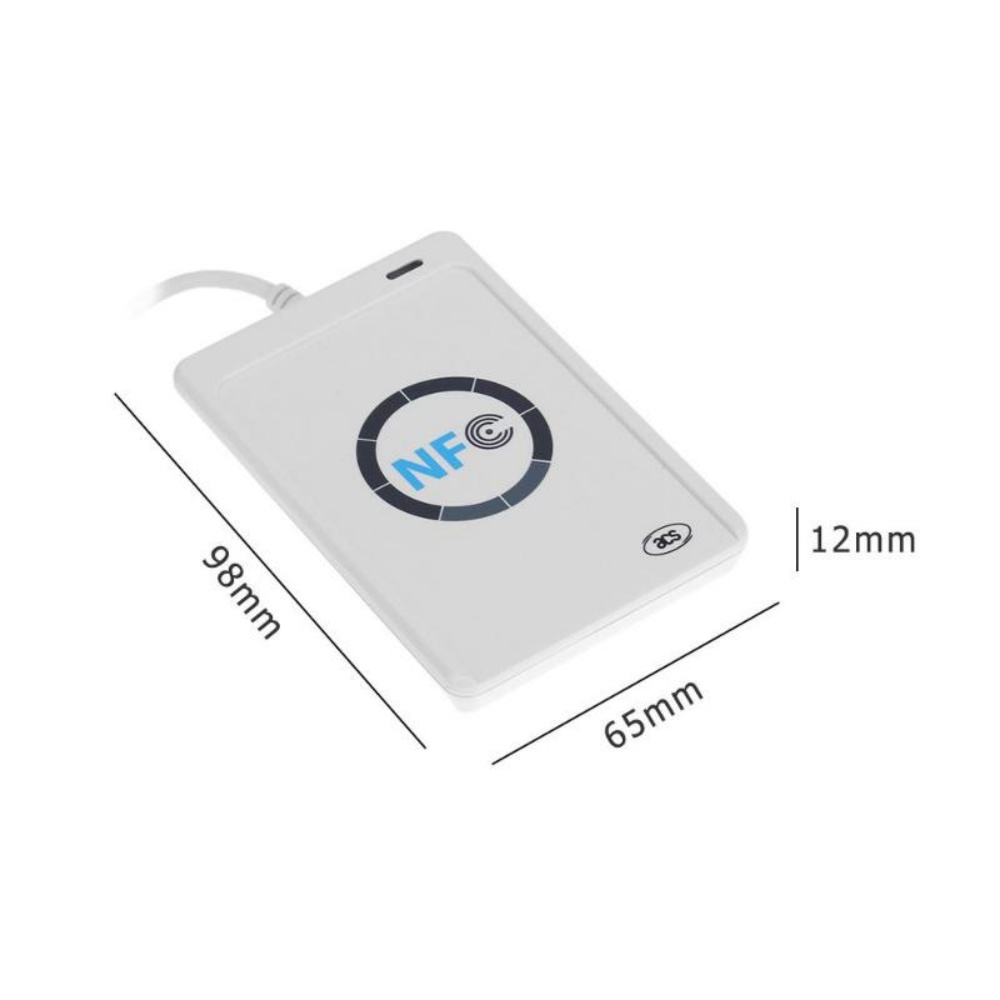
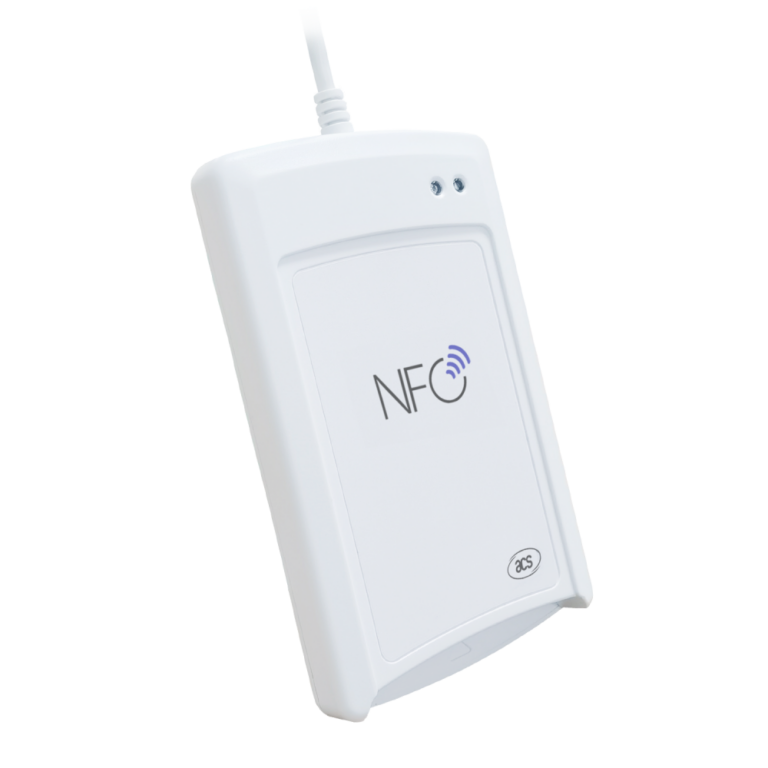
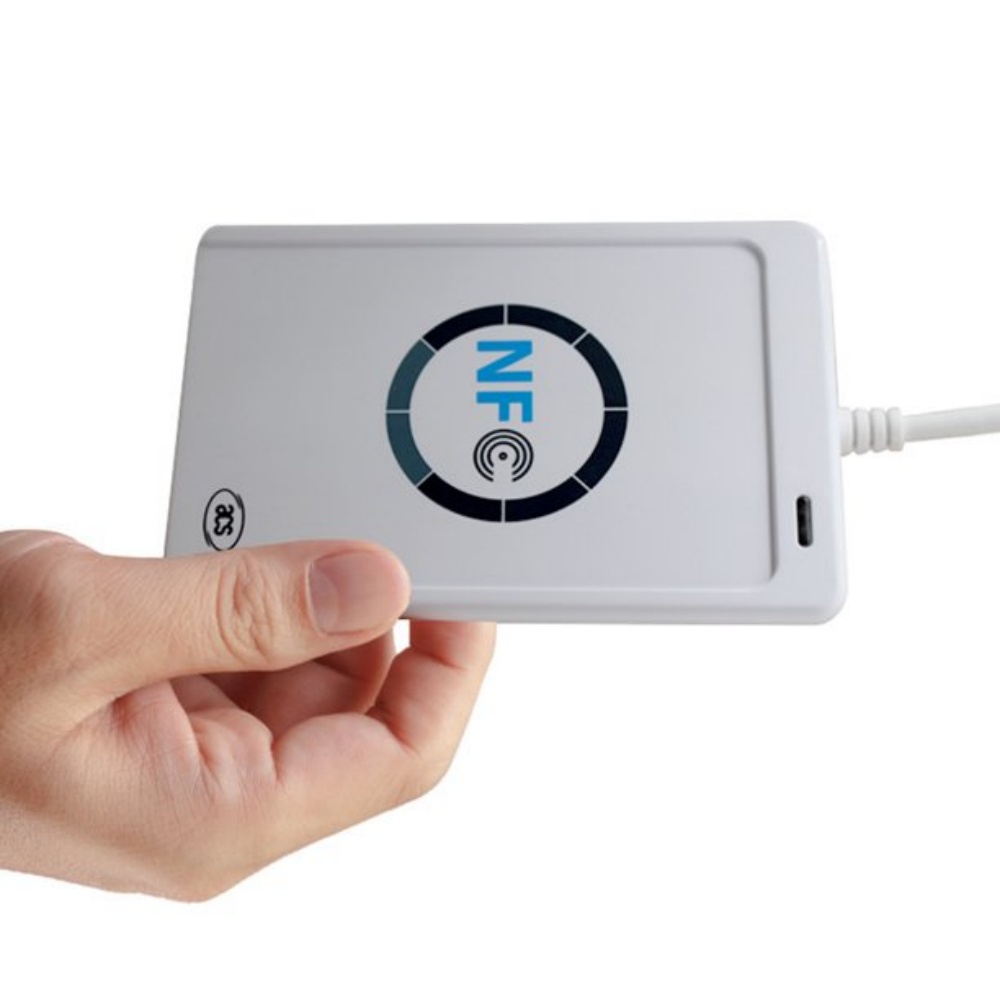
What is the ACR122U?
The ACR122U is a compact USB RFID/NFC reader/writer supporting various card standards:
- NFC: ISO/IEC 18092
- RFID: ISO 14443 Type A/B, MIFARE®, FeliCa
- Protocols: T=CL, NFC Tags
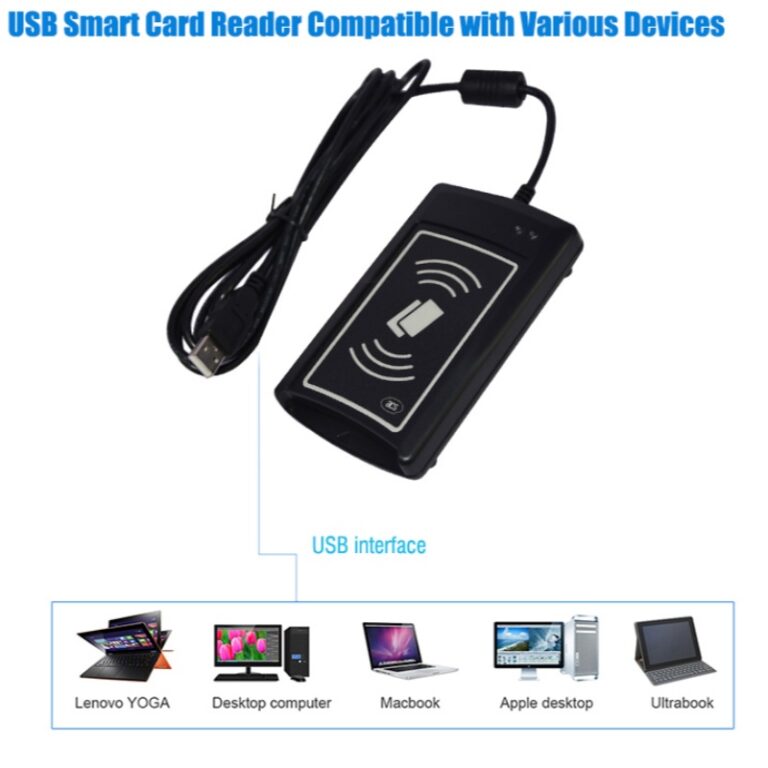
- Interface: USB (CCID)
- Range: Up to 50mm
- Indicators: LED, Buzzer
- OS Support: Windows, Linux, macOS, Android
Why Use ACR122U with Android?
Combined with USB OTG support on your Android device, the ACR122U lets you:
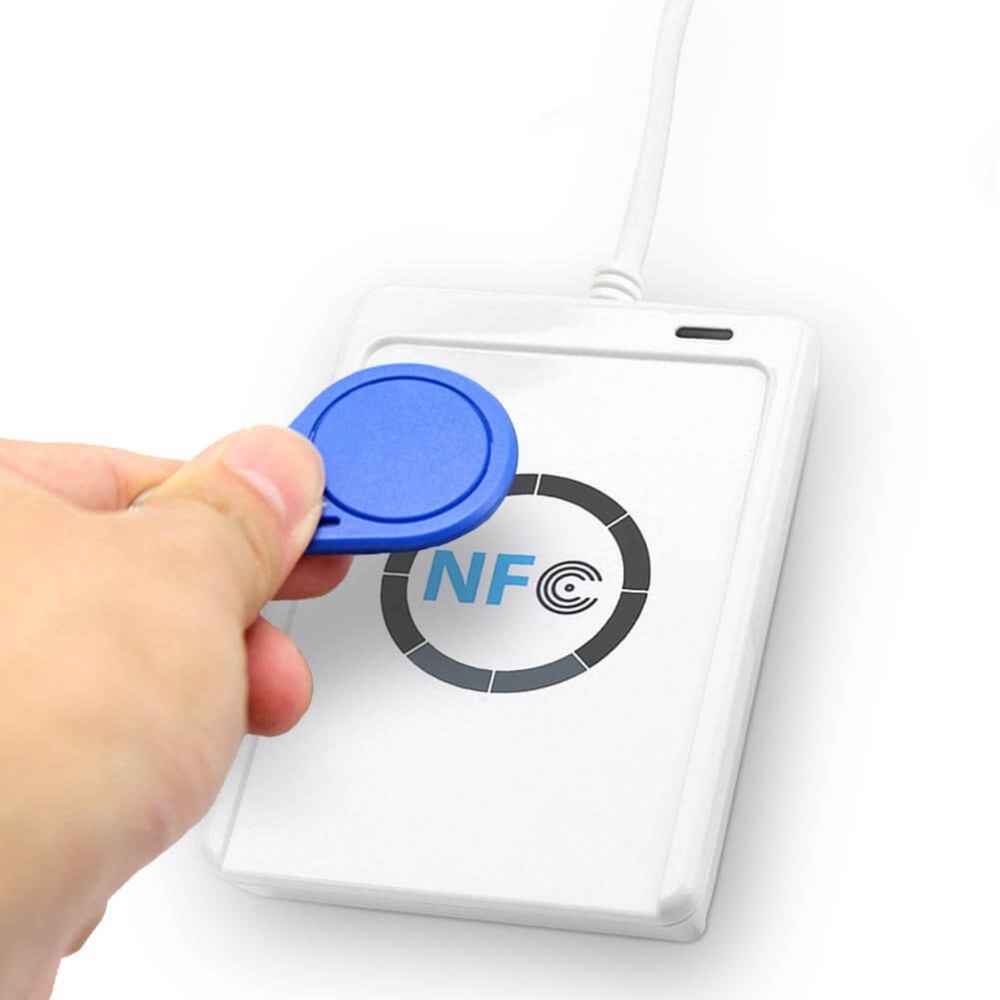
- Read & Write NFC Tags: Store data, trigger actions.
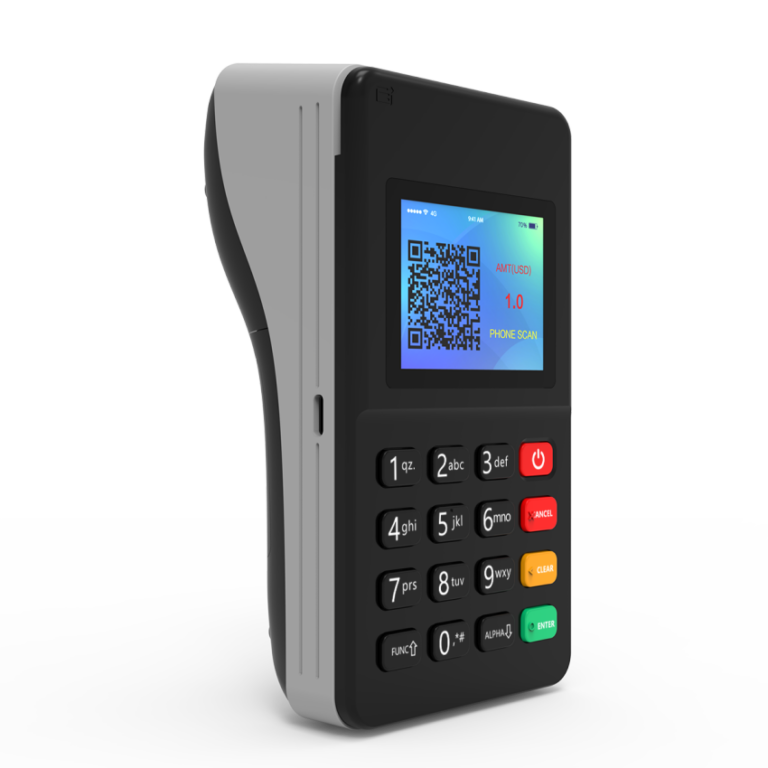
- Contactless Payments: Enable secure transactions.
- Access Control: Build security systems.
- Loyalty Programs: Create engaging customer experiences.
- User Authentication: Enhance security.
Android Setup & Configuration
- Connect: Use a USB OTG cable.
- Permissions (AndroidManifest.xml):
<uses-feature android:name="android.hardware.usb.host" android:required="true" />
<uses-permission android:name="android.permission.USB_PERMISSION" />

<application ...>
    <activity ...>
        <intent-filter>
            <action android:name="android.hardware.usb.action.USB_DEVICE_ATTACHED" />
        </intent-filter>
        <meta-data android:name="android.hardware.usb.action.USB_DEVICE_ATTACHED"
                   android:resource="@xml/device_filter" />
    </activity>
</application>- device_filter.xml (res/xml): Specify ACR122U’s Vendor ID (VID) and Product ID (PID).
<?xml version="1.0" encoding="utf-8"?>
<resources>
    <usb-device vendor-id="0x072f" product-id="0x2200" />  <!-- Replace! -->
</resources>- Driver Installation: Usually automatic; otherwise, explore libusb or libnfc.
- Check NFC Support:
NfcAdapter nfcAdapter = NfcAdapter.getDefaultAdapter(this);
if (nfcAdapter == null) { /* No NFC */ }
else if (!nfcAdapter.isEnabled()) { /* NFC Disabled */ }
Key Development Steps
- Initialize: Connect to the ACR122U using the SDK.
- Detect Card: Check for card/tag presence.
- Data Exchange: Read/write data using card-specific commands and the ACR122U SDK.
- Handle Errors: Implement robust error management.
Event-Driven Programming (Recommended)
React to ACR122U events (card insertion/removal):
- Create Listener:
public interface CardEventListener {
    void onCardInserted();
    void onCardRemoved();
}- Register Listener: Add your listener to the ACR122U SDK.
- Handle Events:
reader.setCardEventListener(new CardEventListener() {
    @Override
    public void onCardInserted() { /* Read Card Data */ }
    @Override
    public void onCardRemoved() { /* Clean Up */ }
});
Error Handling Best Practices
- Common Errors: Device not found, communication errors, card errors.
- Use try-catch blocks.
- Implement Retry Logic.
- User-Friendly Messages.
- Detailed Logging.
Where to Find Help
- ACS Website: Official docs, SDKs, drivers.
- Third-Party Libraries: Explore open-source alternatives.
- Forums/Stack Overflow: Connect with other developers.
Conclusion
The ACR122U is a powerful tool for adding RFID/NFC to your Android apps. With this guide and practice, you’ll be creating innovative contactless solutions in no time. Don’t forget to consult the official documentation and sample code!